The Short Answer: DIY Kits Can Detect Mold, But They Rarely Tell You Enough
If you’ve spotted a dark stain on drywall, caught a musty smell that won’t go away, or had a slow leak behind a cabinet for longer than you’d like to admit, testing for mold is a reasonable next step. DIY mold test kits are inexpensive and available at most hardware stores, and they can confirm that mold spores are present in your air or on a surface. What they almost never tell you is what species you’re dealing with, how far the growth has spread, or whether the source has been fixed. For a quick gut-check, a kit has value. For a real answer, a professional inspection goes considerably further.
What DIY Mold Test Kits Actually Do
Most consumer mold test kits fall into two categories: air sampling and surface swab tests.
Air sampling kits work by leaving a petri dish open in a room for a set period, usually 24 to 48 hours, then mailing it to a lab. The dish captures whatever spores happen to settle into it. The lab reports back on what grew.
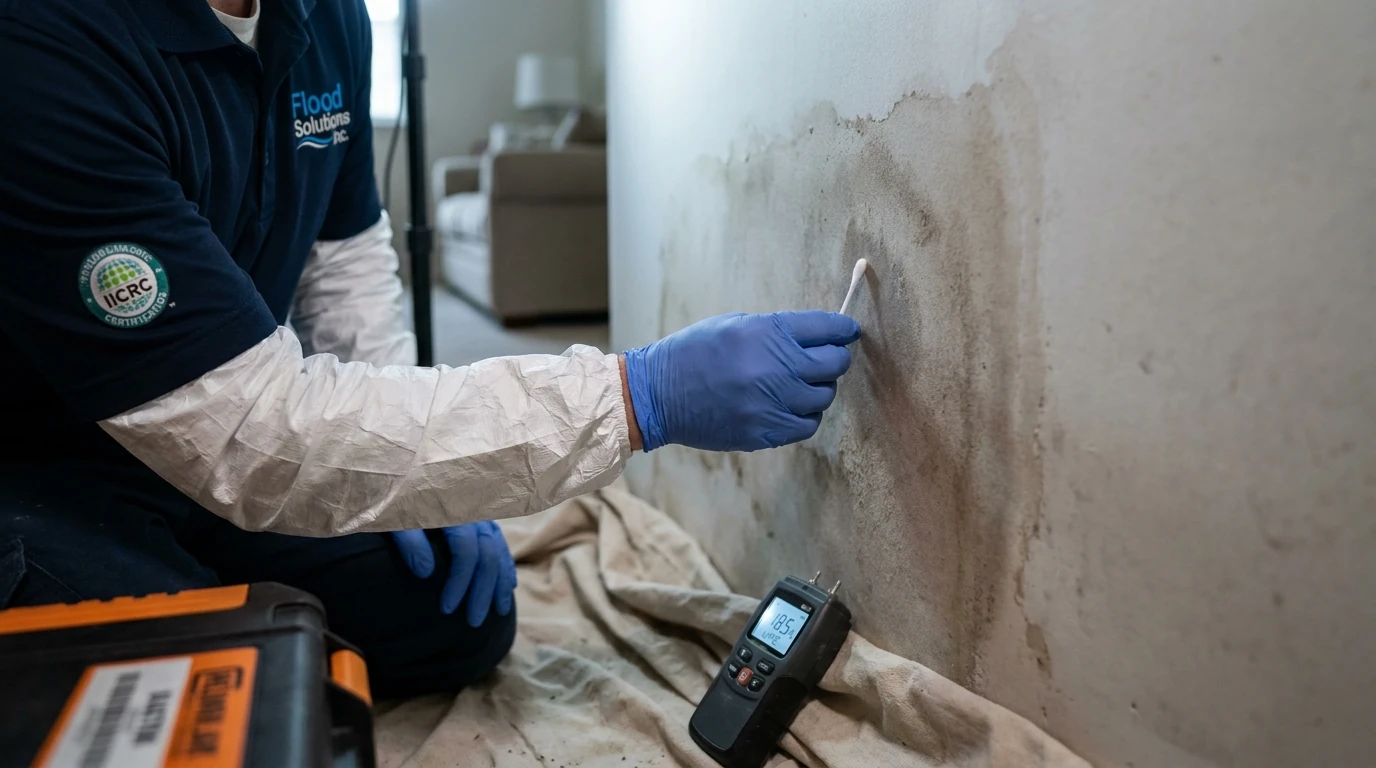
Surface swab kits have you rub a swab across a visible stain or discolored area, then either read a result at home (similar to a pregnancy test strip) or mail the swab for lab analysis.
Both approaches have real limitations worth understanding before you spend money on them:
- Petri dish air tests are not quantitative. They tell you that mold is present, but mold spores exist in virtually every indoor environment at some level. A positive result on its own does not tell you whether your home has a problem above what is considered normal background levels.
- Swab tests only find mold where you already suspect it. If the growth is inside a wall cavity, under a subfloor, or behind insulation, you will not find it by swabbing a surface.
- Lab turnaround takes time. Mail-in results typically come back in 3 to 10 business days, which matters if you are trying to make a fast decision about a space.
- Species identification from a petri dish is unreliable. The lab is growing whatever landed in the dish under controlled conditions. That is not the same as a direct analysis of what is actually colonizing your building materials.
For a homeowner trying to answer the question “is there any mold in this room at all?” a DIY kit is a reasonable starting point. For anyone trying to understand scope, species, or source, it is not the right tool.
What a Professional Mold Inspection Includes
A professional mold inspection is a different process in almost every way. Rather than passively collecting spores and hoping the right ones land in a dish, a trained inspector actively looks for the conditions that allow mold to grow.
A thorough inspection typically involves:
- Moisture mapping. Inspectors use non-invasive moisture meters and thermal imaging cameras to find elevated moisture readings inside walls, under floors, and above ceilings without opening them up. Mold follows moisture. Finding wet building materials often locates hidden colonies before they are visible.
- Visual assessment of the whole structure. Crawl spaces, attic decking, basement rim joists, and HVAC air handlers are common problem areas that most homeowners do not check during a DIY test.
- Air sampling with calibrated pumps. Professional air samples pull a measured volume of air through a cassette at a controlled rate, then compare indoor spore counts against an outdoor baseline taken the same day. That comparison is what makes the result meaningful.
- Surface sampling where indicated. Tape lifts or swabs taken from suspect areas go to an accredited laboratory for analysis under a microscope, producing a species-level identification.
- A written report. The report documents findings, photographs, moisture readings, and lab results in a format that is useful for remediation contractors and, when relevant, insurance adjusters.
In Macomb County, homes built before the 1980s frequently have older plumbing configurations and, in some cases, original cast-iron drain lines that develop pinhole leaks inside finished walls. A moisture meter catches those long before a DIY air test would.
When to Skip the DIY Kit and Call Directly
Some situations make the DIY-first approach a poor use of time and money. Call a professional inspection service before testing on your own if any of the following apply:
- The affected area is larger than about 10 square feet. At that size, the EPA recommends professional remediation regardless of species.
- You or anyone in the home has respiratory symptoms, chronic sinus issues, or immune system concerns that have worsened since moving in or since a water event. A professional inspection produces documentation that is useful for a physician.
- There was a significant water intrusion event (a burst pipe, roof leak, sump pump failure, or flooding) and more than 24 to 48 hours passed before the area was fully dried. Mold can begin colonizing wet porous materials within that window.
- You smell mold but cannot find it. A musty, earthy odor with no visible source almost always means growth is hidden inside a building assembly. A DIY swab test will not find it.
- You are buying or selling the home. A professional inspection report carries weight in a real estate transaction in a way that a petri dish result does not.
- A previous remediation was done and you want to confirm clearance. Post-remediation verification requires the same calibrated air sampling and comparison methodology that a professional inspection uses.
What Happens After Mold Is Confirmed
Once mold is confirmed, the path forward depends on the size and location of the growth.
Small surface mold on non-porous materials (tile grout, a glass window frame, a metal pipe) can often be cleaned by a careful homeowner using appropriate personal protective equipment and an EPA-registered cleaner. The key word is “surface.” If the mold has penetrated a porous material, cleaning the surface does not remove the colony.
Drywall, insulation, wood framing, and carpet that have sustained mold growth typically need to be removed rather than cleaned. That work falls under professional mold remediation, which involves containment barriers, negative air pressure, HEPA filtration, and disposal protocols designed to keep spores from spreading to unaffected areas of the home during the removal process.
The step that most homeowners skip, and that matters most, is fixing the moisture source before any remediation begins. Mold removed from a wall cavity that still has a slow leak will return. A good remediation contractor will not start work until the source is identified and corrected.
If the mold is connected to a water damage event, your homeowner’s insurance policy may cover remediation costs depending on the cause and your specific policy terms. A professional inspection report with documentation is typically what an adjuster needs to evaluate the claim.
Ready to Know What You’re Actually Dealing With?
If you’ve found something that looks or smells like mold in your Macomb-area home, the team at Flood Solutions inc can help you understand the scope of the problem before you decide on next steps. Whether you need a professional mold inspection or you’re already past that point and need remediation, call (586) 580-0197 to talk through what you’re seeing.